
There are hundreds of Domain Extensions available ranging from top-level domain extensions to country-level domain extensions.
“.pk” is a destinated country-level Domain Name for Pakistan and “.pk” Domains are only administrated by “PKNIC”, the sole organization which is endorsed by the Government of Pakistan for administration, registration and management of “.pk” Domains.
How to Create and Configure Your PKNIC Account
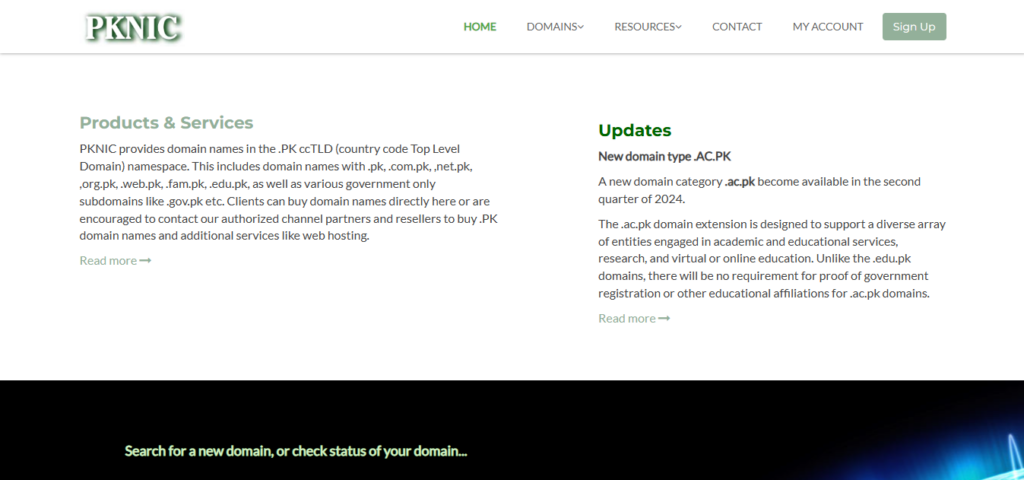
STEP 1: Navigate to the PKNIC Official Website
- Open your browser and visit the official PKNIC website.
STEP 2: Click on “Sign Up”
- Look for the “Sign Up” option on the homepage or in the navigation menu and click on it.
STEP 3: Fill Out the “Create New Account” Form
- Complete the necessary details in the form, including your personal information.
- Once filled out, click the “Create New Account” button to proceed.
STEP 4: Add a Technical Contact
- After your account is created, navigate to Account > My Technical Contacts.
- Click on Add a New Technical Contact.
STEP 5: Complete the “Add a New Technical Contact” Form
- Enter the required information for your technical contact.
- Once you’re done, click the Add This Technical Contact button.
STEP 6: Add a Billing Contact
- Next, go to Account > My Billing Contacts.
- Click on Add a New Billing Contact.
STEP 7: Fill Out the “Add a New Billing Contact” Form
- Provide the necessary details for your billing contact.
- Once filled, click the Add a New Billing Contact button to finish the process.
Congratulations!
You have successfully created and configured your new PKNIC account.
This guide should make your PKNIC account setup process smooth. You can always Contact Us if you need any assistance!
Leave a Reply